Before you get to the immigration counter, there's one thing you need on your phone: your eTravel QR code. It's the Philippine government's electronic travel declaration, and airline staff will ask for it at check-in. No QR code, no boarding pass.
The good news is that it's genuinely simple. Registration is free, takes about five minutes, and you can do it two ways — through the official website or through the eGov PH app on your phone. This guide walks you through both.
⚠ Register within 72 hours of your flight. Not a week early, not a month early. The system only accepts registrations made within three days of your departure or arrival date. Register too early and your QR code may be invalidated, and you'll have to do the whole thing again.
Who Needs to Register
eTravel is required for:
- All arriving passengers — Filipino and foreign alike
- All arriving crew members — Filipino and foreign
- All departing Filipino passengers
Departing foreign passengers generally do not need to register. Diplomats and holders of certain official visas are also exempted.
So if you're a Filipino flying out of NAIA, Clark, Cebu, or any other Philippine international airport — yes, this applies to you. And you'll need to register again for your return flight home, because departure and arrival are separate registrations.
What to Prepare Before You Start
Have these ready and the form takes five minutes instead of twenty:
- Your passport — number, issue date, expiry date
- Your flight details — airline, flight number, date, and airport
- An active email address you can check right now (you'll receive a one-time password)
- Your address — your Philippine address for departure, or your accommodation address for arrival
- Your seat number, if you're registering for arrival
- A list of countries you visited in the past 30 days, for the health declaration
Option 1: Register on the Website (etravel.gov.ph)
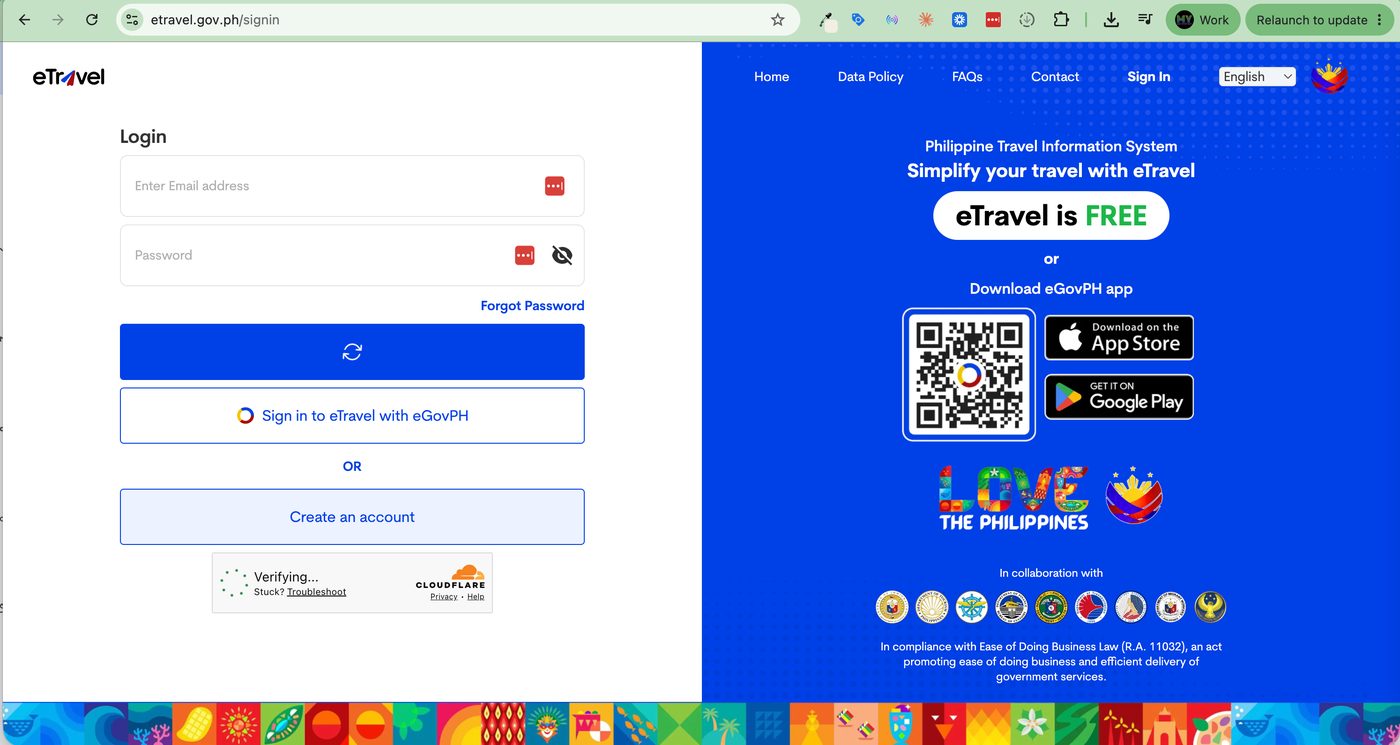
This is the most reliable route, especially on a laptop or desktop where the form is easier to read. Go to etravel.gov.ph — and only that address.
Step 1 — Create your account
Click Sign In, then select Create an Account. Enter your email address and click Continue. Check your inbox for a 6-digit OTP sent by the system, enter it on the website to verify your email, then create a password of at least 8 characters.
If the OTP doesn't arrive within a couple of minutes, check your spam folder before requesting a new one.
Step 2 — Fill in your personal details
Enter your full name exactly as it appears on your passport, along with your sex, date of birth, citizenship, country of birth, phone number, and passport number. Then enter your address and submit.
Type your name the way your passport shows it — not your nickname, not a shortened middle name. Mismatches between your eTravel record and your passport are a common reason people get pulled aside.
Step 3 — Choose Departure or Arrival
Select Departure if you're leaving the Philippines, or Arrival if you're coming in. These are two separate registrations — a round trip means doing this twice, each within 72 hours of that specific flight.
Step 4 — Enter your flight and trip details
Fill in your airline, flight number, flight date, and airport. For arrivals, you'll also select your arrival airport and enter your seat number.
Step 5 — Complete the health declaration
List the countries you visited before flying to the Philippines and answer the health condition questions honestly. Declaring an illness may route you to the Bureau of Quarantine, but concealing one is a far bigger problem.
Step 6 — Review, submit, and save your QR code
Read every field one more time before you submit. Once you click Submit, your eTravel QR code appears immediately.
Screenshot it. Then download it. Then print a copy. Airport wifi is unreliable and phone batteries die. A printed backup in your document folder costs you nothing and has saved plenty of travelers.
Option 2: Register Through the eGov PH App
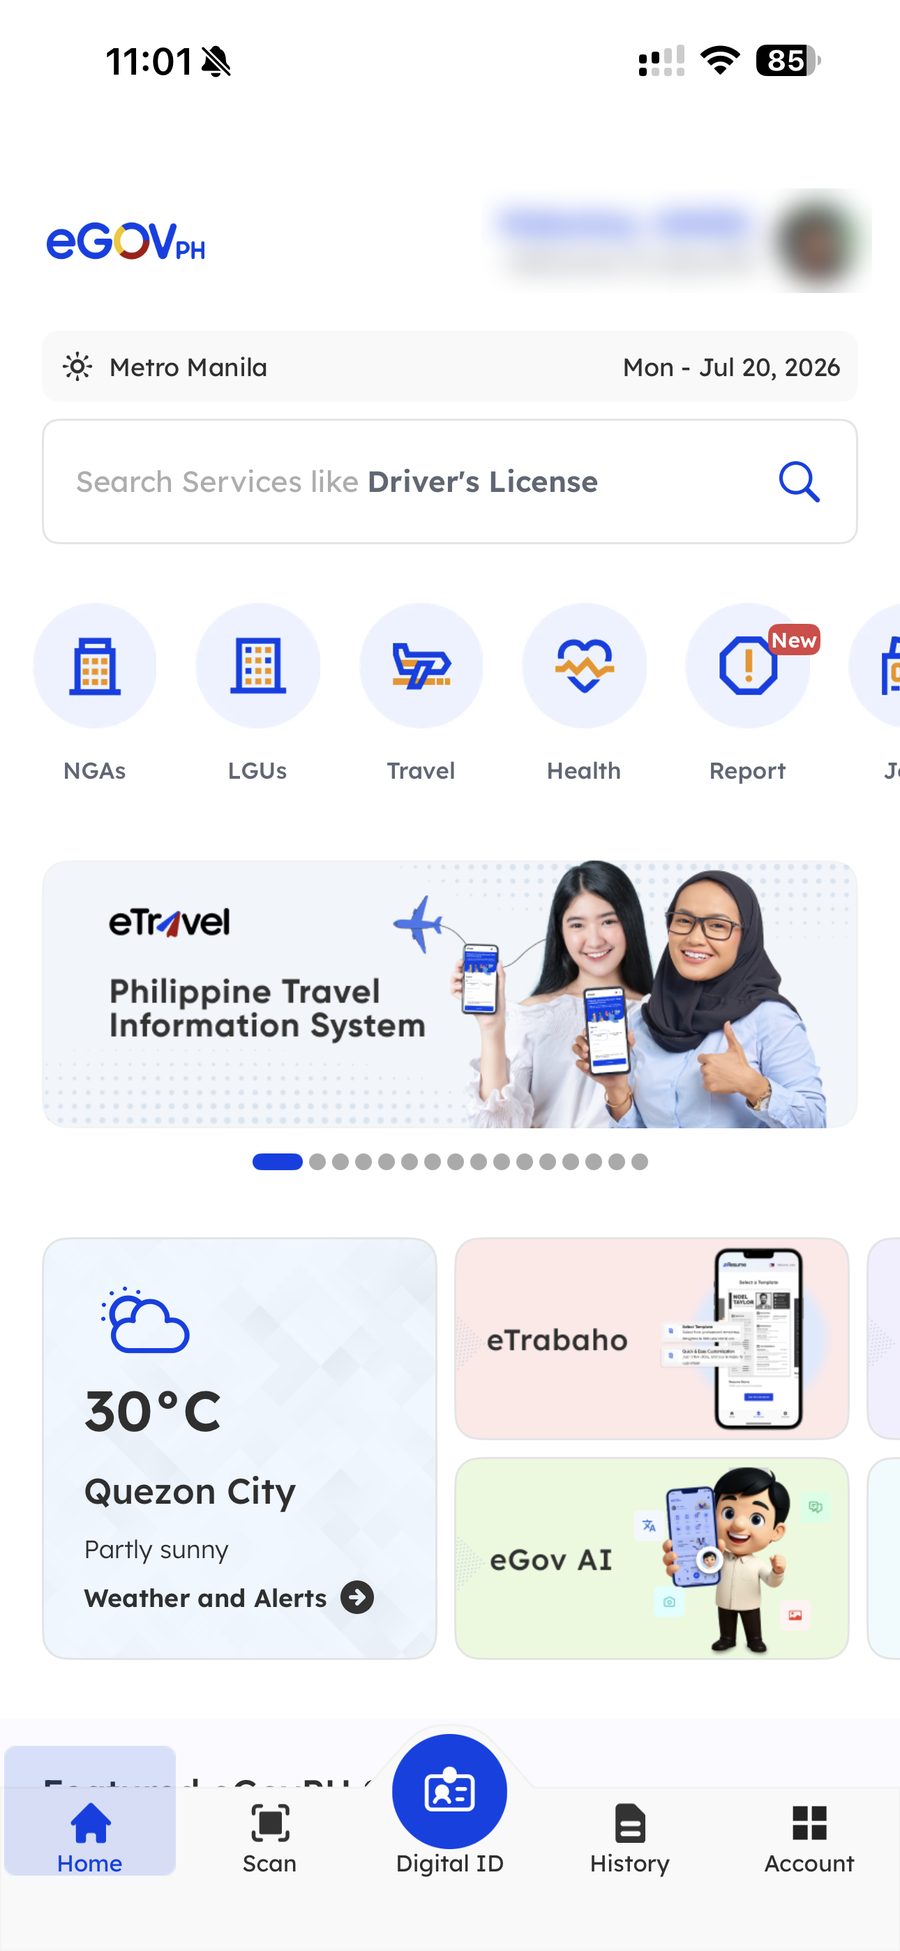
The eGov PH app is the government's official all-in-one mobile app, and eTravel is built into it. It does exactly the same thing as the website, with one real advantage: once your profile is saved, your next registration is much faster because your passport and personal details are already filled in.
Step 1 — Download the app
Search for eGov PH on the Google Play Store or Apple App Store. Check the publisher before installing — the legitimate app is published by the Department of Information and Communications Technology (DICT). There are lookalike apps; don't install those.
Do this at home on a stable connection, not at the airport terminal.
Step 2 — Create your eGov PH account
Register with your mobile number and email address, then verify with the OTP sent to you. Set your password and, if prompted, enable biometric login — it makes future access much quicker.
Step 3 — Complete your profile
Fill in your personal details and passport information once. The app stores this securely and reuses it for every future eTravel registration, which is the whole point of using it.
Step 4 — Open eTravel inside the app
From the app dashboard, tap the eTravel service tile. Choose Departure or Arrival depending on your trip.
Step 5 — Fill in your trip details
Enter your flight information — airline, flight number, date, airport, and seat number for arrivals — then complete the health declaration screens. Most of your personal fields will already be populated from your profile.
Step 6 — Submit and save your QR code
Submit the form and your QR code is generated on the spot, stored inside the app under your travel records. Even so, take a screenshot and save it to your photo gallery. If the app fails to load at the check-in counter, a screenshot still works.
✓ Which one should you use? If you're travelling once, use the website — nothing to install, nothing to set up. If you travel a few times a year, install the eGov PH app once and every registration after that takes about two minutes.
Website vs. eGov PH App at a Glance
| etravel.gov.ph | eGov PH App | |
|---|---|---|
| Cost | Free | Free |
| Setup needed | None — just open the site | Download and verify account once |
| First registration | About 5 minutes | About 10 minutes including setup |
| Repeat registrations | About 5 minutes | About 2 minutes — details are saved |
| Best on | Laptop or desktop | Your phone |
| Where your QR code lives | Email and browser — save it yourself | Inside the app, plus email |
| Best for | One-off or occasional travelers | Frequent travelers and OFWs |
Green QR Code vs. Red QR Code
After you submit, the system issues you one of two colors — and the difference matters.
- Green QR code — your information is complete and correct. You proceed straight to immigration processing.
- Red QR code — your data is incomplete or incorrect, or you declared that you were sick or exposed to a communicable disease in the past 30 days. You'll be referred to the Bureau of Quarantine for assessment before immigration.
A red code is not a denial and it is not an offloading. It just means an extra checkpoint. But if yours is red because of a typo rather than a health declaration, fix your registration before you head to the airport.
If You Lose Your QR Code
Don't re-register from scratch. Go to etravel.gov.ph/search and use the Edit Registration tab with your reference number and date of birth to retrieve it. eGov PH app users can find it under their saved travel records.
This is exactly why you should save your reference number somewhere separate from your phone.
Common Mistakes to Avoid
- Registering too early. Outside the 72-hour window, your code can be invalidated.
- Paying someone to do it. eTravel is free. Anyone charging you a "processing fee" for the form itself is running a scam.
- Using an unofficial website. There are copycat sites that look official and harvest your passport data. The only address is etravel.gov.ph.
- Name mismatches. Your eTravel details must match your passport exactly.
- Registering only once for a round trip. Departure and arrival are separate submissions.
- Relying on your phone alone. Print a copy. Batteries die, apps crash, terminals have bad signal.
- Leaving it to the airport. Doing this in the check-in queue is how people miss flights.
⚠ Your eTravel QR code is not a substitute for your travel documents. You still need your passport, visa if required, return ticket, hotel booking, and proof of financial capacity. eTravel gets you past the declaration requirement — it does not protect you from being offloaded. Read our guide on how offloading works at NAIA before you fly.
Frequently Asked Questions
Is eTravel registration really free?
Yes. Registration and updates are absolutely free of charge, and the system does not collect payment at any point. If a website or a person asks you to pay for the eTravel form, walk away.
How early can I register?
Within 72 hours — three days — before your flight. Any earlier and the system may invalidate your QR code, meaning you'd have to register again anyway.
Do I need to register for my return flight too?
Yes. Departure and arrival are two separate registrations, each within 72 hours of that specific flight. Registering for your outbound flight does not cover your trip home.
Can one registration cover my whole family?
Each traveler needs their own registration and their own QR code, including children and infants. A parent or guardian can complete the form on a minor's behalf.
What if I don't have a smartphone?
Use the website on any computer and print your QR code. A printed copy is accepted at the airport — you don't need a phone at all.
Can I edit my registration after submitting?
Yes. Use the Edit Registration tab at etravel.gov.ph/search with your reference number and date of birth. If your flight changes, update your registration before you travel.
Do domestic flights need eTravel?
No. eTravel covers international arrivals and departures only. Your Cebu or Davao flight doesn't need one.
Registering for eTravel is the easiest part of any international trip — but it's also the part travelers forget until they're already at the counter. Do it the day before you fly, save the QR code in three places, and it will never be a problem.
At My Destination Tours & Travel, we walk our clients through every requirement before departure — from eTravel and visa applications to the documents that keep you off the secondary inspection list. If you're planning a trip and want someone to check your paperwork before you get to the airport, we're here.